SilverFit Rephagia

Customer Environment SilverFit Rephagia

As a SilverFit customer, you will find information about the system, the latest updates, training courses, events and frequently asked questions on this page.
Recent updates

Activities

New SilverFit Rephagia activities

Kangoeroe krachtige slik 2 copy
SilverFit Rephagia

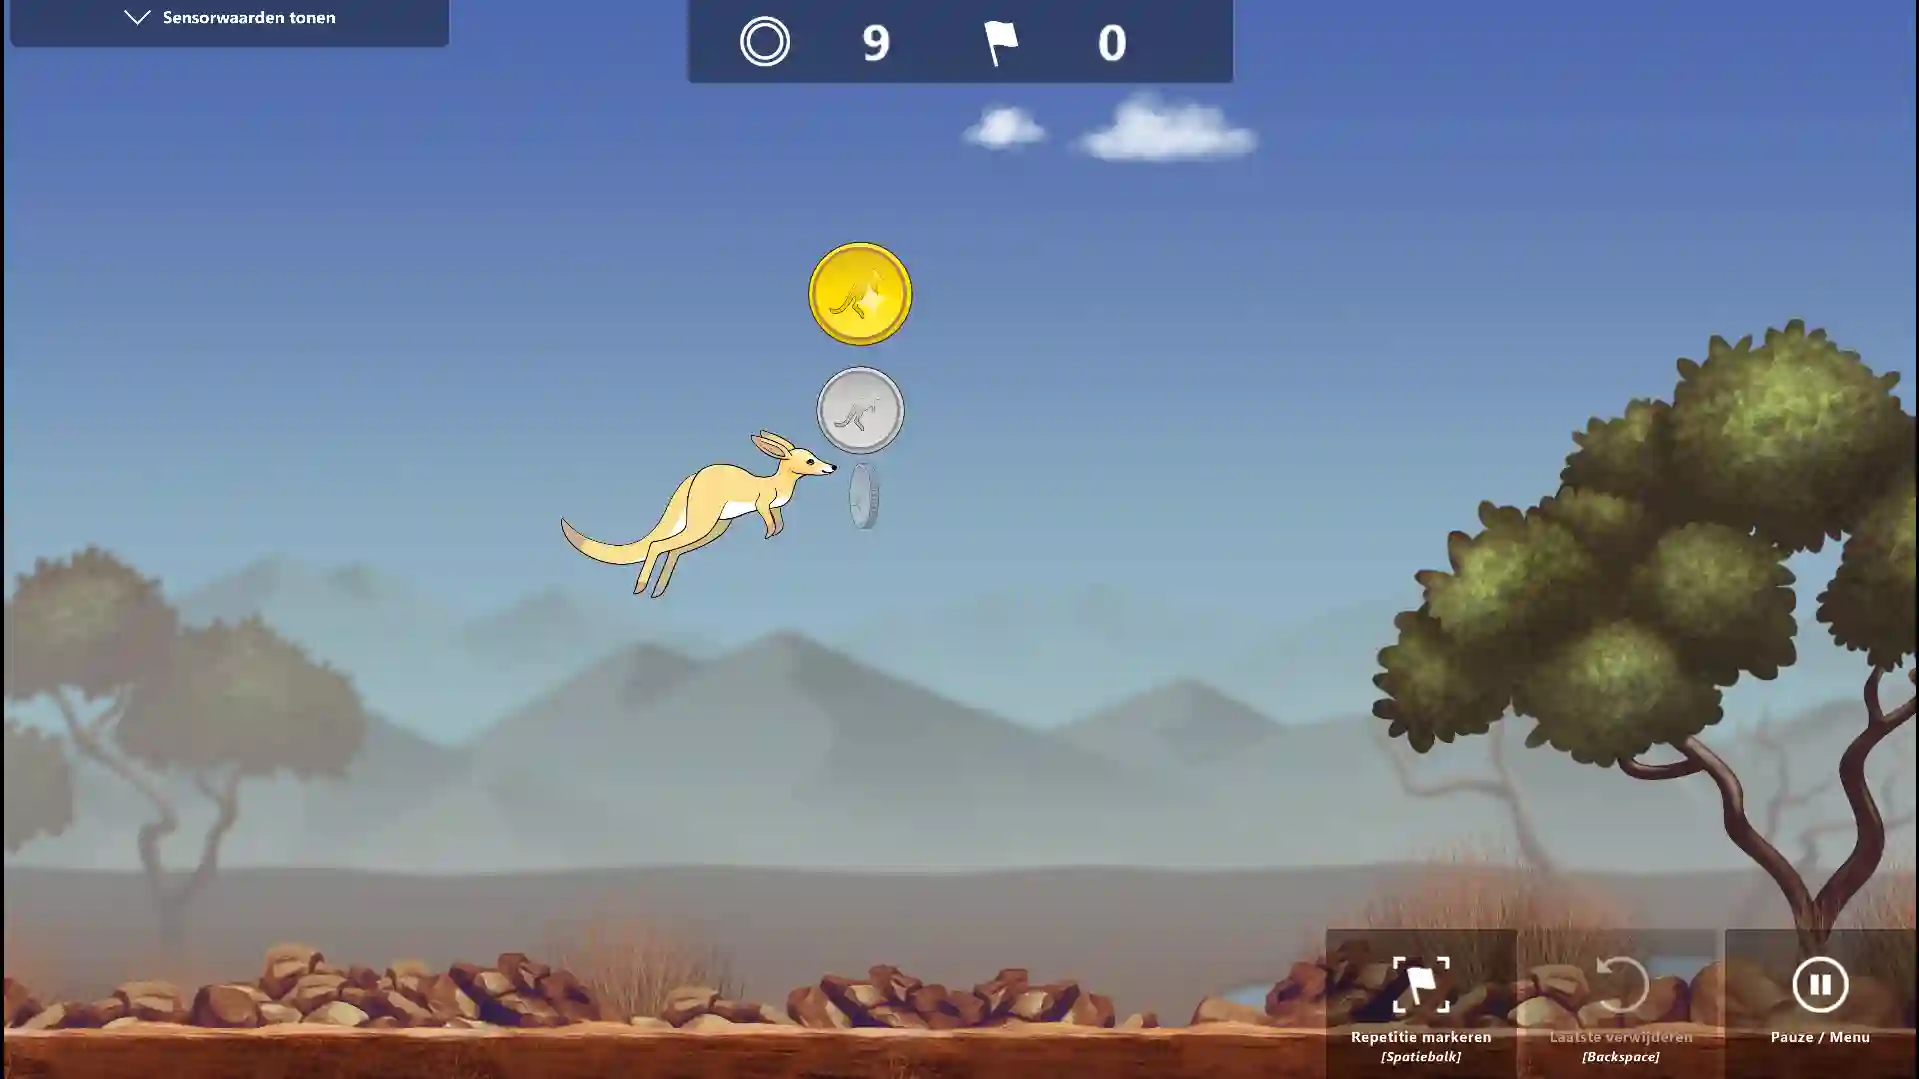
Refined Feedback for the Kangaroo visualization

Last year, we added more feedback to the kangaroo exercises, including the kangaroo ‘huffing’ when the target value is not met. The ‘huff’ appears as a small cloud in front of the kangaroo.
However, the kangaroo started huffing too frequently in certain scenarios. For example, this was often triggered in neurological patients where involuntary muscle activation is prevalent.
Based on your feedback, we have refined the threshold for these responses.

SilverFit Rephagia

Controlled swallowing

  • Combines control of timing and power of the swallow
  • Trains awareness of swallowing muscle deployment
  • Can be used in dysphagia not caused by muscle weakness but impaired motor control
  • Visualisation with target boxes
Tutorials

System Instructions

SilverFit Rephagia

Instruction video SilverFit Rephagia

Downloads

Available Downloads

White Paper

User Manual

CE Document

Planned

Events and Trainings

Introduction to the SilverFit systems

Answers to your questions

FAQ

Is your question not in this list? Check the SilverFit manual for even more solutions to technical problems. Do you have another support question? Please contact our support department.

The SilverFit Rephagia's sensor is not found.

The signal receiver must be connected to a USB port on the laptop before the computer turns on. If this was not the case, you need to restart the computer.

  • When the sensors are swiped over the magnet strip in the charging unit, the lights on the sensors should blink white. Then, the battery icon in the bottom-left of your screen should be activated after a few seconds.

If the battery icon is not activated, check the following:

  • Is the signal receiver properly inserted into the USB port? If not, place it correctly and restart the computer.
  • Is the sensor properly charged? Swipe the sensor over the magnet strip in the charging unit. The light should blink white now.

If this doesn't happen, place the sensor in the charging unit, plug the power cord into the socket, and press the ‘power button’ on the back of the charging unit. The sensor should now emit blue light and begin charging.

The laptop's screen does not show an image.

The screen might be in standby mode. Press the power button on the laptop. If there is no light at all on the screen, check the following:

  • Is the plug properly inserted into the socket, and is the laptop's battery properly charged?
  • Is the power strip turned on?
  • Is the power cable of the computer properly connected?
The laptop won't turn on.

When you press the power button, a white light will turn on behind the button, and you will hear a soft buzzing sound from the internal fan.

If these things do not happen, check the following:

  • Is the plug properly inserted into the socket?
  • Is the power strip turned on?
  • Is the power cable of the computer properly connected?
Sensor not detected. How do I fix this?

The signal receiver must be connected to a USB port of the laptop before the computer is turned on. If this was not the case, you need to restart the computer.

  • When the sensors are passed over the magnetic strip on the charging unit, the lights on the sensors should blink white. Then, the battery icon in the bottom left of your screen should be activated after a few seconds.

If the battery icon does not activate, check the following:

  • Is the signal receiver properly inserted into the USB port? If not, insert it correctly and restart the computer.
  • Is the sensor properly charged? Swipe the sensor over the magnetic strip of the charging unit. The light should blink white. If this doesn't happen, place the sensor in the charging unit, plug the unit into the socket, and press the 'power button' at the back of the charging unit. The sensor will now show a blue light and begin charging.
Service Agreement

Get the Most Out of your SilverFit System

Get the most out of your SilverFit system with a service agreement.

The Benefits at a Glance

Optimizing thanks to your input

Our ideas box

"*" indicates required fields

Ontvang de whitepaper

Laat uw gegevens achter en ontvang de whitepaper direct in uw mailbox.

"*" indicates required fields

Ontvang de handleiding

Laat uw gegevens achter en ontvang de handleiding direct in uw mailbox.

"*" indicates required fields

Receive the White Paper

Fill in your data and receive the white paper directly in your mailbox.

"*" indicates required fields

Receive the User Manual

Fill your data in and receive the user manual directly in your mailbox.

"*" indicates required fields